Signing your NativePHP application with GitHub Actions
You've just built a NativePHP application and you're ready to distribute it to users. Great work!
When distributing your application to users, you'll need to codesign it. This is a way of telling the OS that you built the software, and it hasn't been altered by anybody else since it was signed. Without doing this, users will see warnings when they use your app that your software could be dangerous, and it could even be blocked by antivirus software.
You'll also need to notarise it. This is a process where your application is uploaded to Apple for the purposes of malware prevention. Without doing this, macOS users running 10.15 (Catalina) or higher won't even be able to open your application.
In order to sign and notarise your application for macOS, you'll need an active subscription to the Apple Developer program ($99 per year).
1. Generate a CSR
First, let's generate a CSR (Code Signing Request) on your laptop. Open the Keychain Access application and go to:
Keychain Access -> Certificate Assistant -> Request a certificate from a certificate authority

Provide your email address and name, and select the "Saved to disk" radio button. You can leave "CA Email Address" blank.
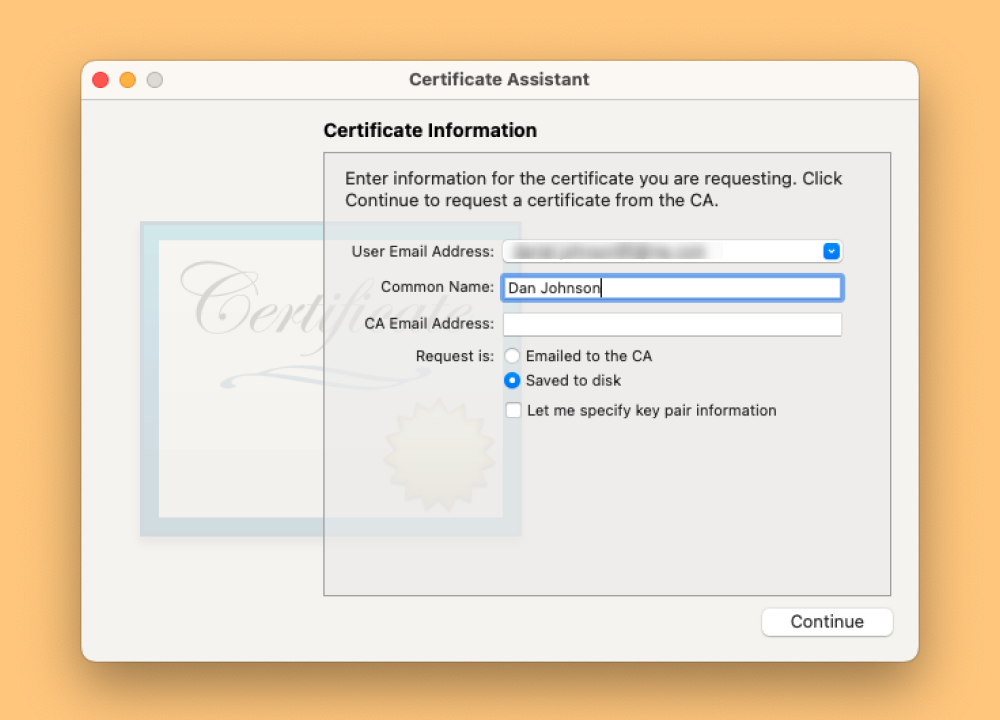
Click Continue and choose somewhere to store your CSR.
2. Create Developer certificates
Now head over to Certificates, Identifiers & Profiles and click the blue Plus icon to create a new certificate.
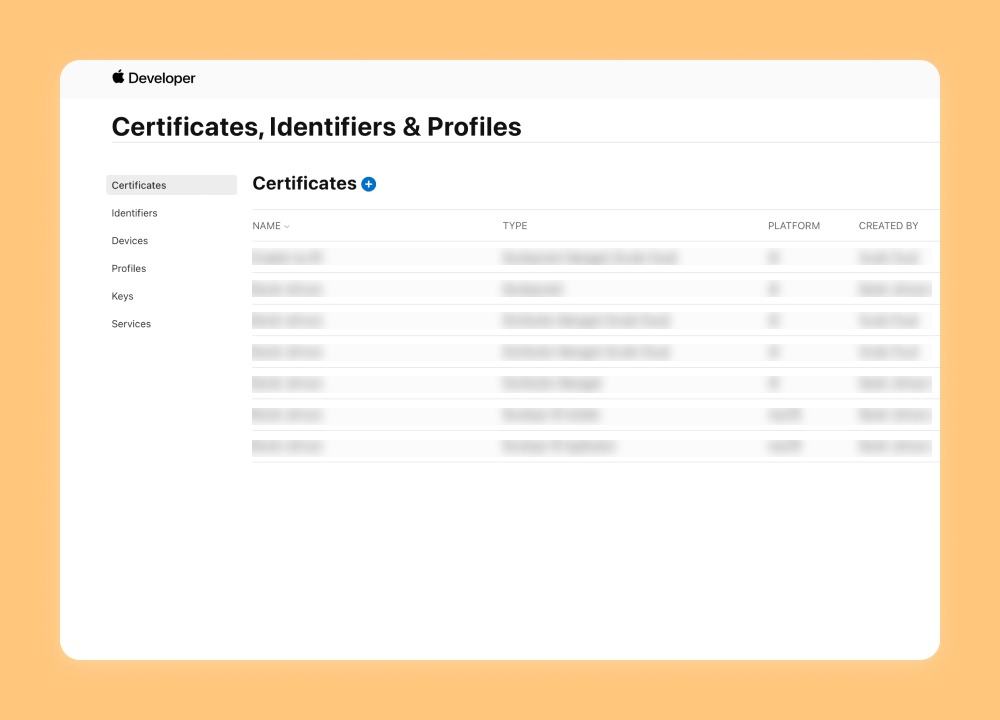
We'll be creating a certificate of type "Developer ID Application". This is required in order to distribute your application outside of the App Store.
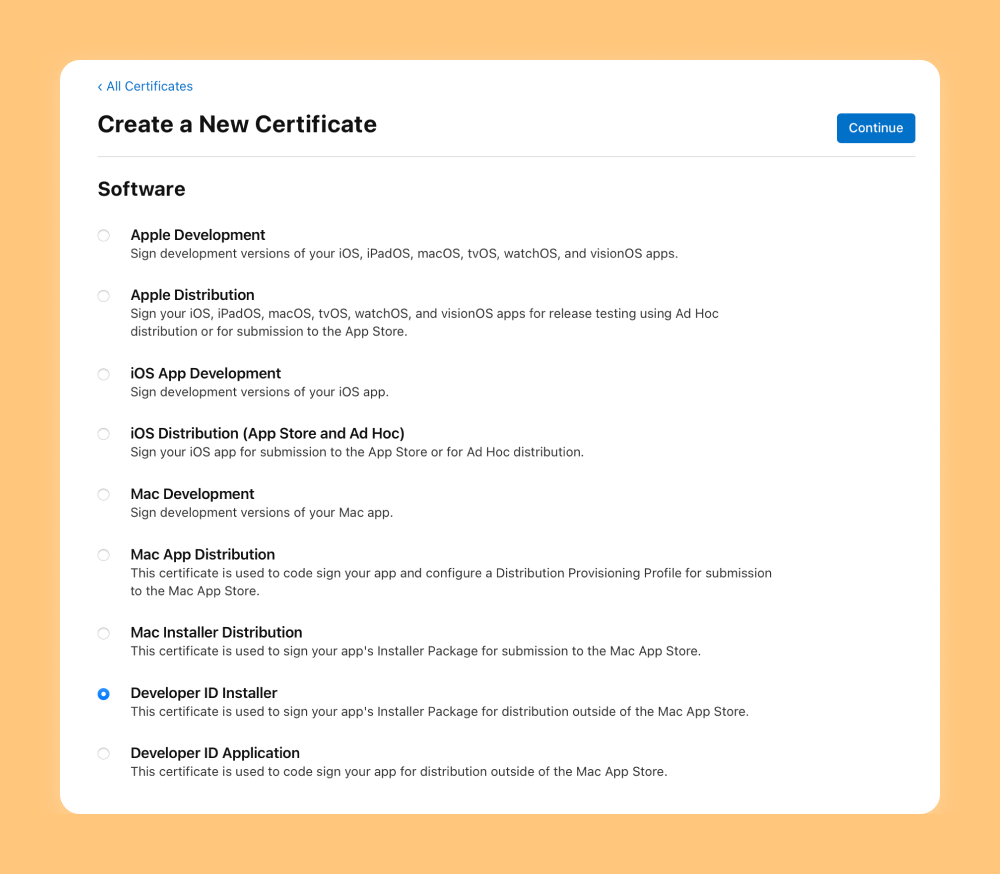
Select "Developer ID Installer" and click Continue.
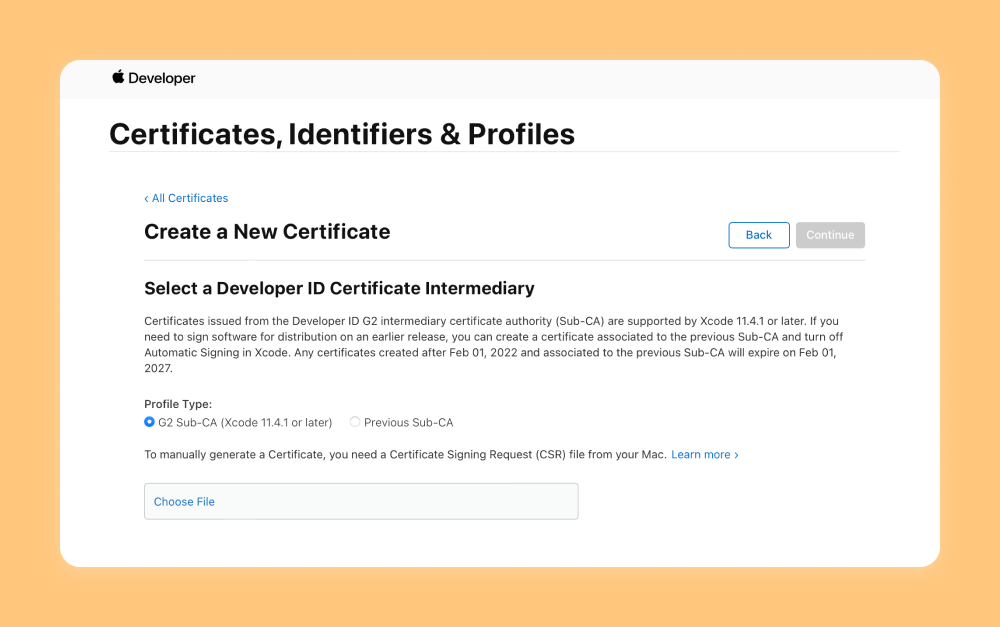
For the Profile Type, you can go ahead and select "G2 Sub-CA". And using the file picker below, select the CSR file you generated in the above step.
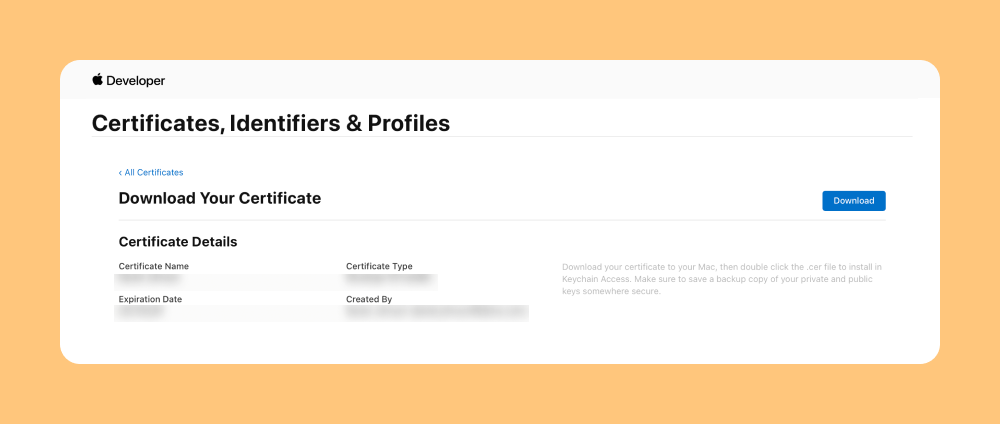
Now click the blue Download button to save the certificate to your computer.
3. Get .p12 file
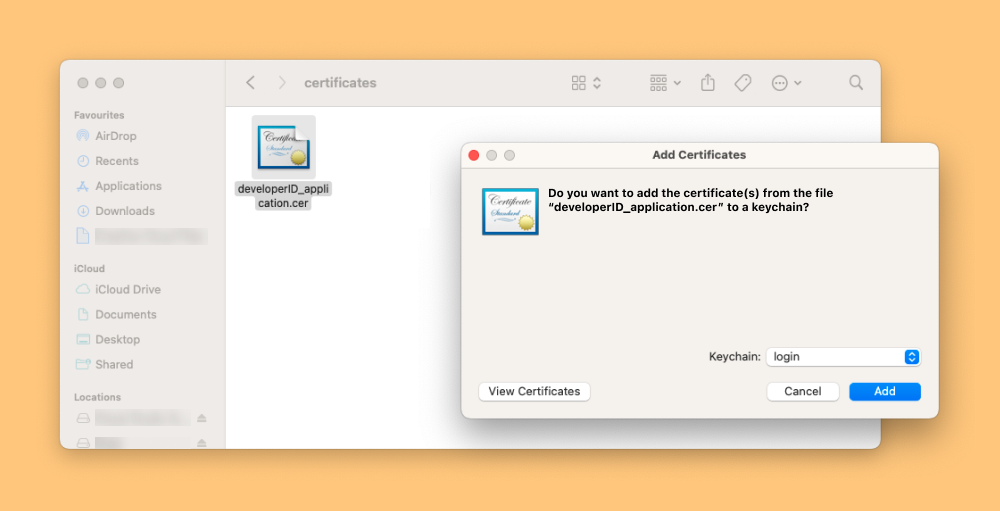
Now that you've generated and downloaded the certificate, we'll first import it onto your keychain.
Find the .cer certificate you downloaded and double click it to import it.
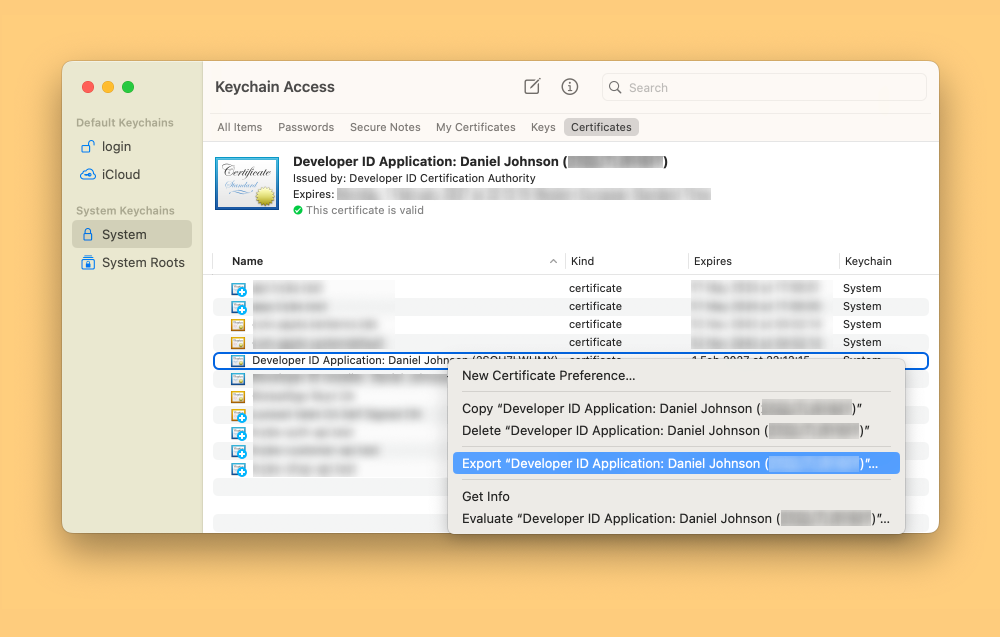
Now, in Keychain Access, find the certificate, right click and select "Export". Ensure that the file format is Personal Information Exchange (.p12) and go ahead and export this.
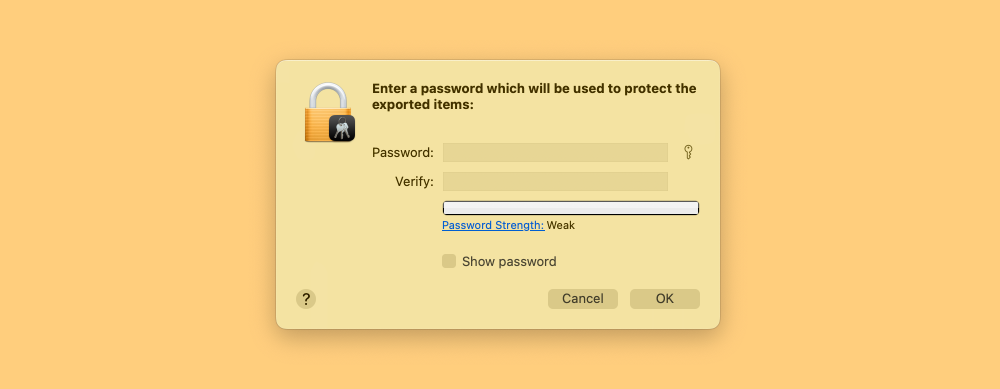
You'll now be presented with a box to enter a password. This password is used to protect the certificate. Provide a password here (you can use the key icon to automatically generate one for you) and make a note of it - you'll be adding this to your GitHub Actions secrets later.
We're now going to export this .p12 file as a base64 string. Run the following command in your terminal, replacing the path with the location of the .p12 file.
base64 -i ~/Desktop/Certificates.p12 -o ~/Desktop/certs.txt
4. Generating an app-specific password
Now for notarisation, you'll need to generate an app-specific password for your Apple Developer ID.
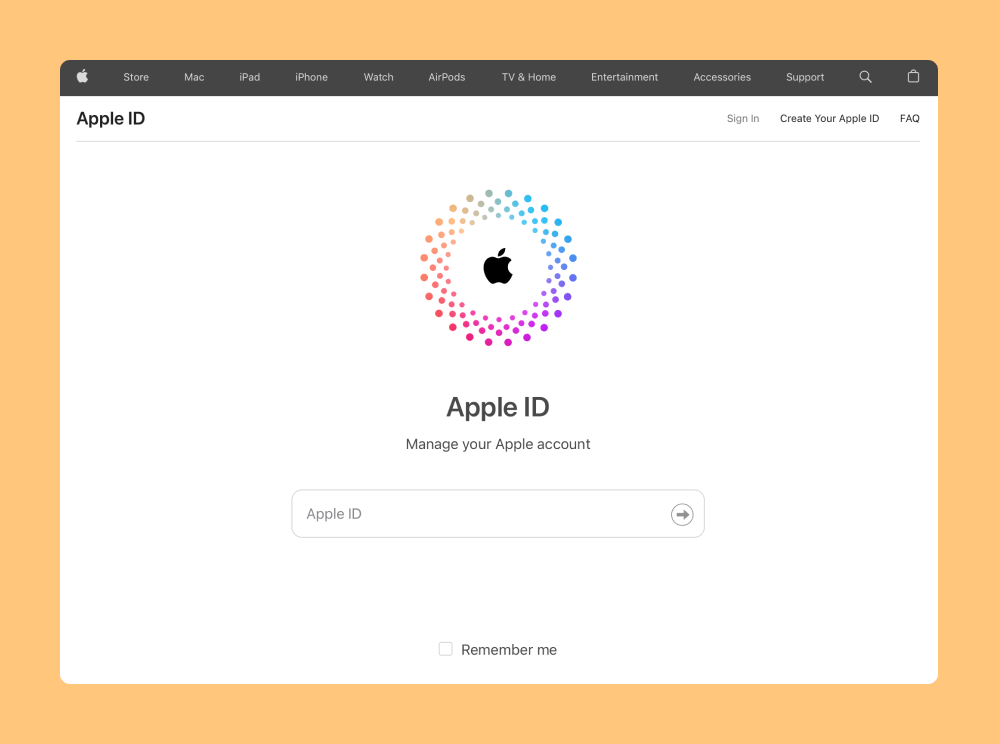
Log into https://appleid.apple.com
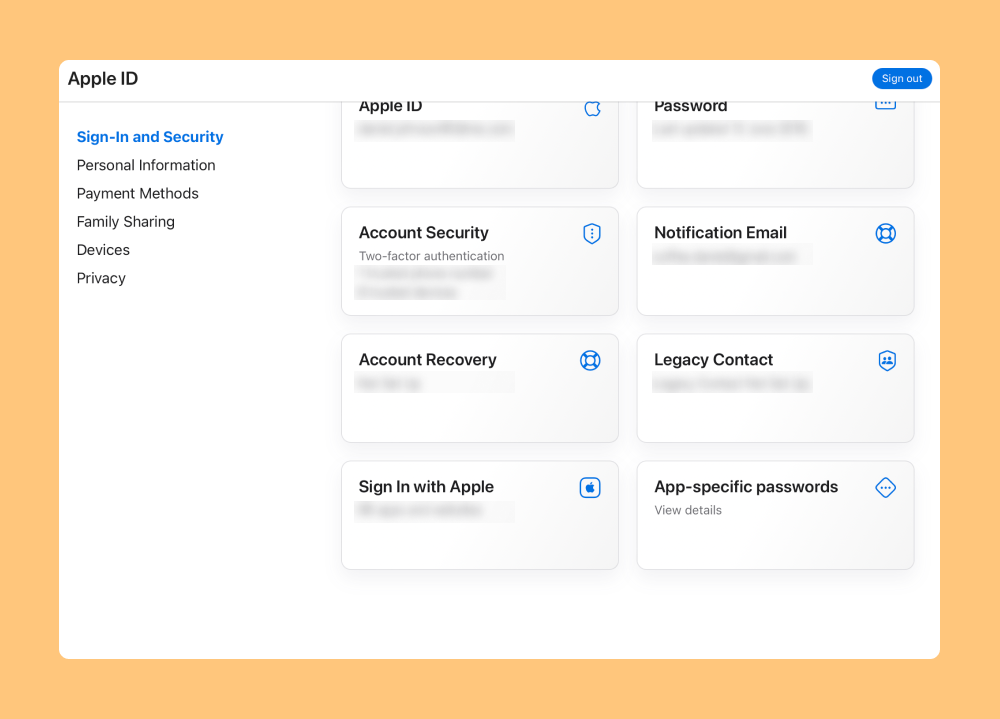
Select "App-specific passwords"
Click the blue plus to create a new app-specific password
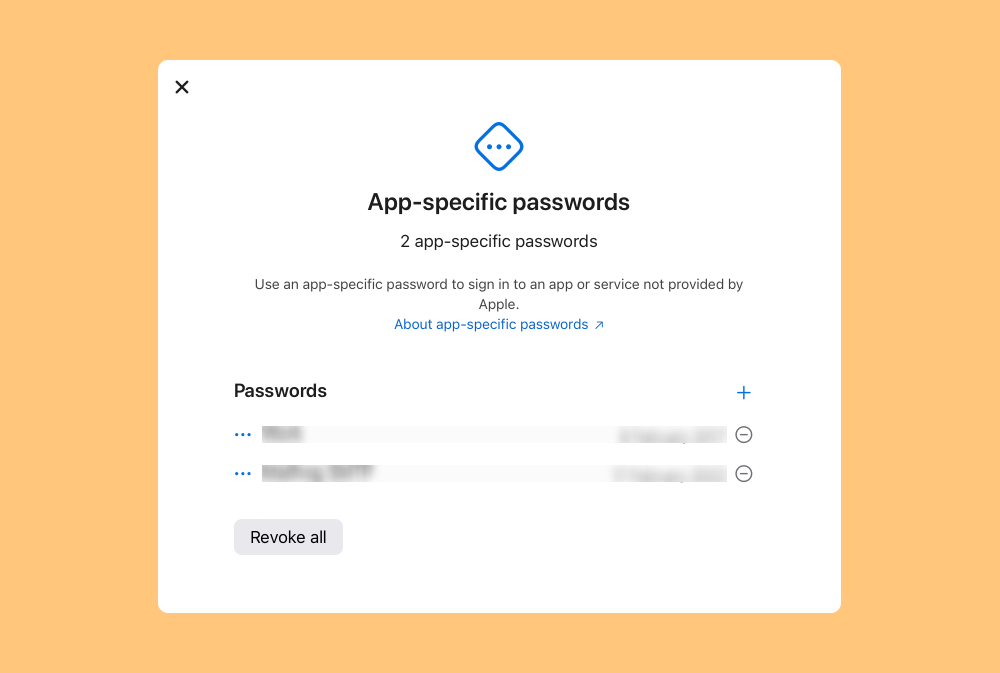
Provide a name for your password, for example, "Notarise NativePHP". If you're developing multiple NativePHP applications, you might want to include the name of the application in the name.
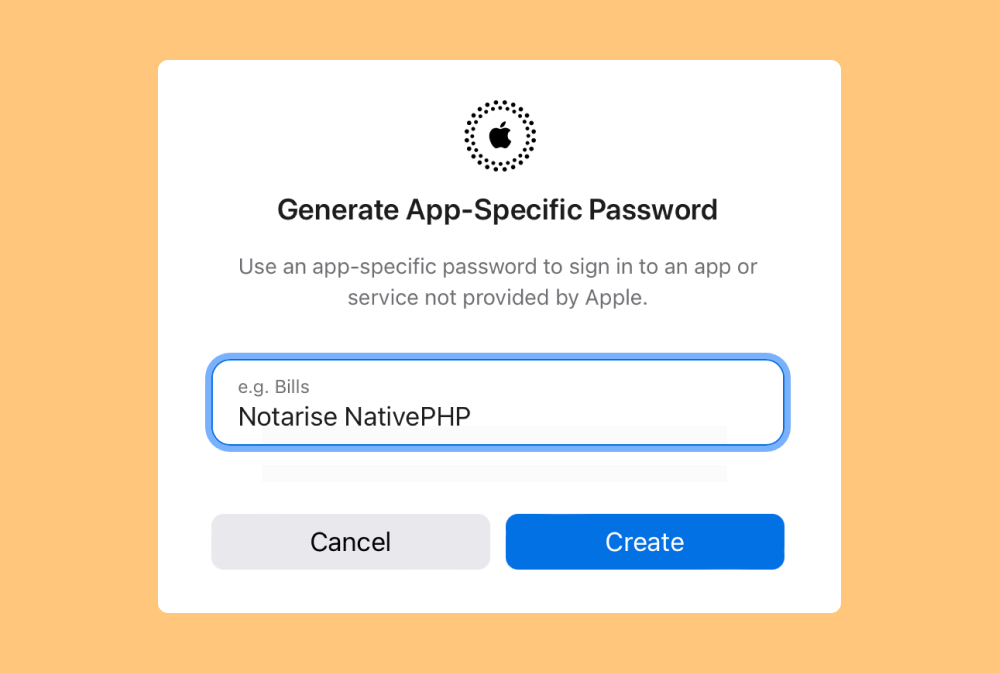
You may be prompted to confirm your Apple ID password. Enter your password and click Continue. You'll be presented with your new app-specific password. Make a note of this - you'll be adding this to your GitHub Actions secrets later.
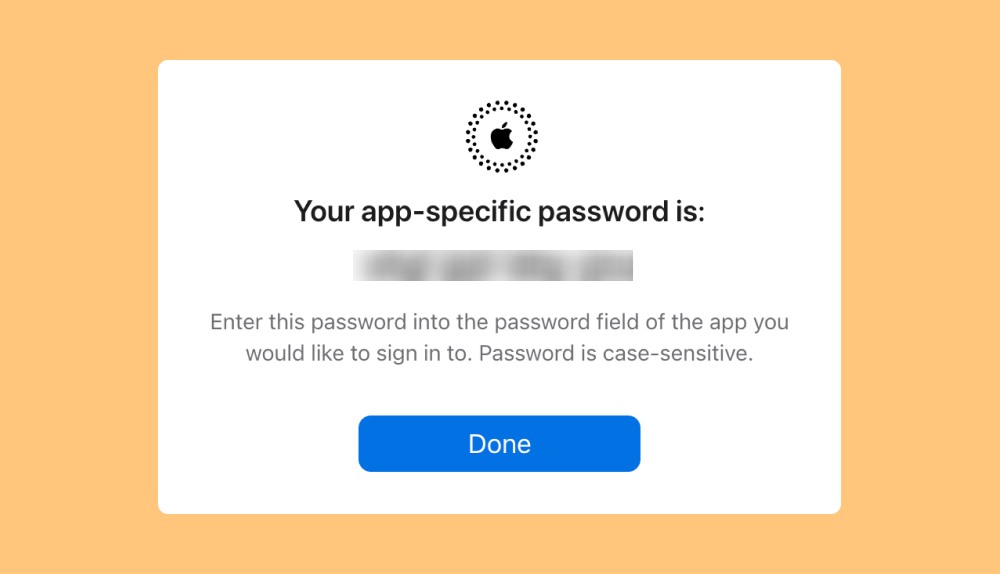
Seeing the "Continue on one of your devices" message? Try creating your new password in Chrome instead.
5. Adding secrets to GitHub
Now we're ready to add the secrets to GitHub.
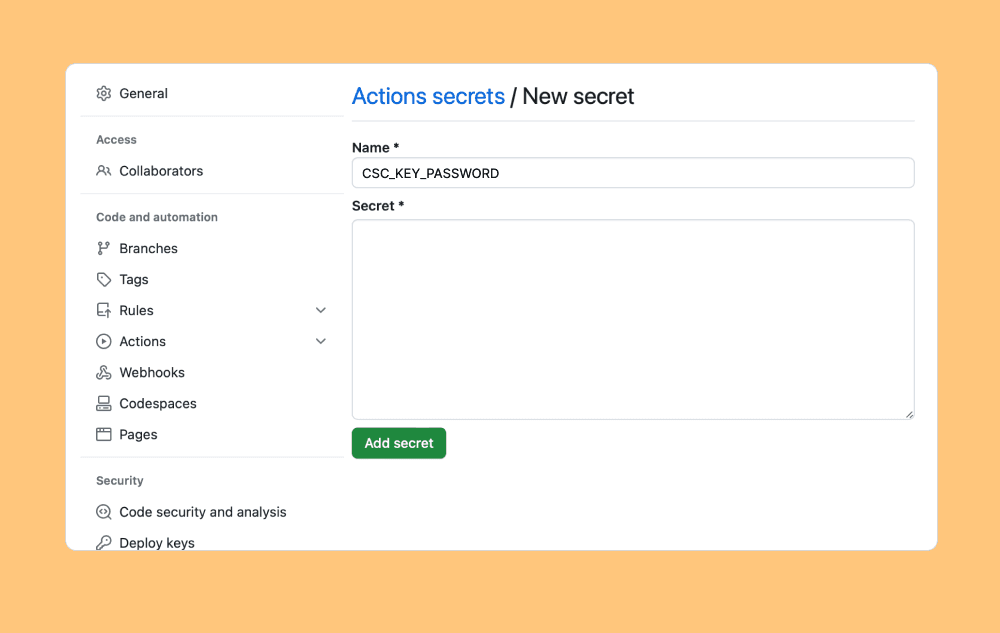
Head to your repository and go to Settings -> Secrets and Variables -> Actions.
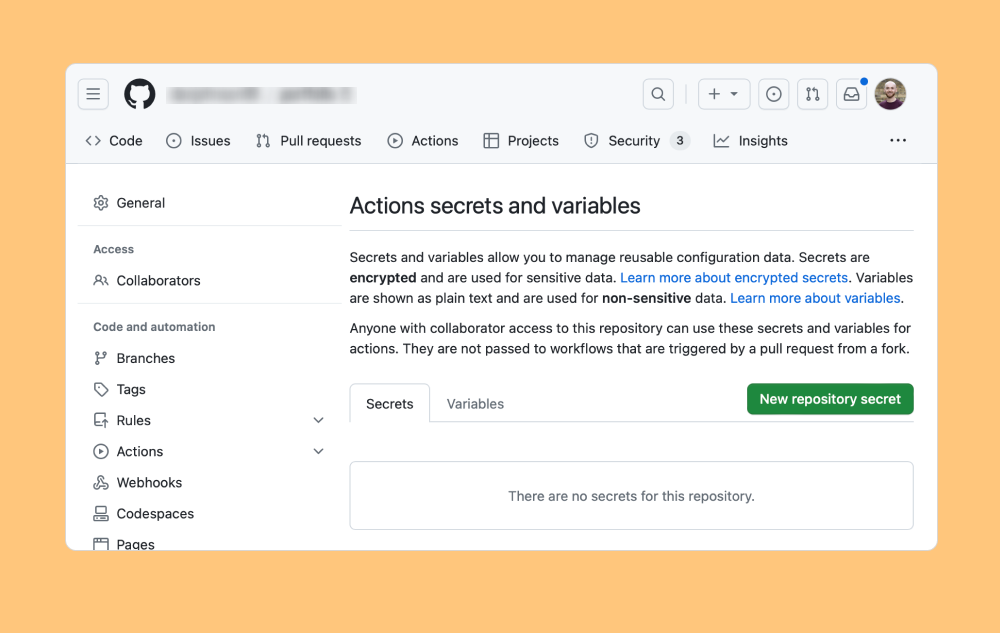
Add a new Repository Secret.
For the Name, set it as CSC_KEY_PASSWORD. And for the secret, paste in the password you used in step 3.
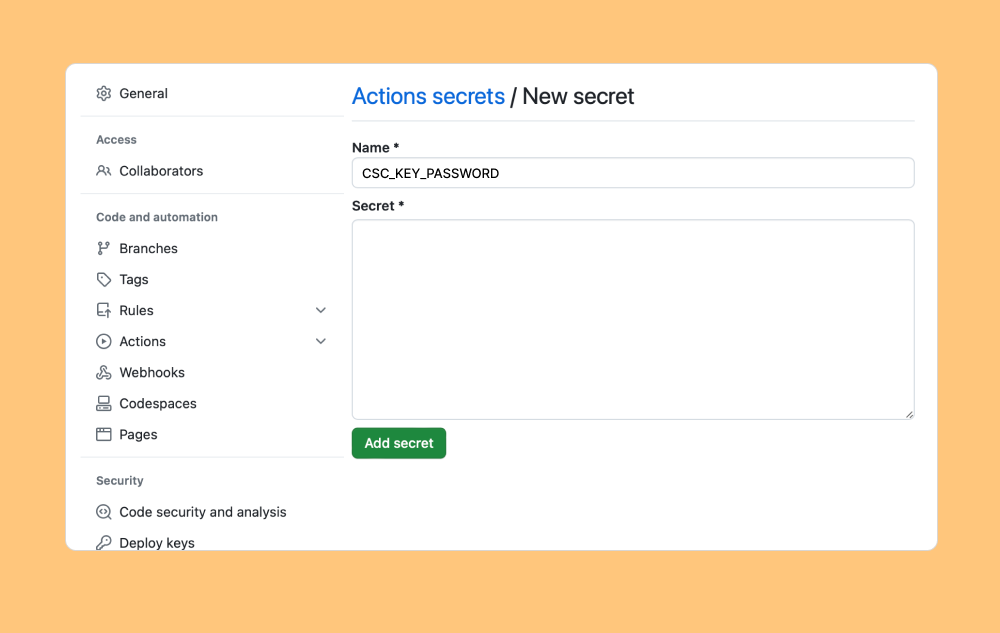
We'll add four more Repository Secrets.
-
CSC_LINKFor the secret, paste in the base64 string you exported in step 3. -
NATIVEPHP_APPLE_IDSet this to your Apple ID associated to your Apple Developer account, ieexample@icloud.com. -
NATIVEPHP_APPLE_ID_PASSSet this to the App-specific password you generated in step 4. -
NATIVEPHP_APPLE_TEAM_IDSet this to your Apple Developer Team ID.
Next steps
You've added all the secrets needed to sign and notarise your application!
The next step is to write a GitHub workflow file to run php artisan native:publish whenever you want to publish a new release.
Here's a sample workflow file you can use which will compile, sign and notarise your application for macOS whenever code is pushed to your repository. Feel free to update this to match your requirements.
The compiled application will be uploaded as a build artifact.
name: Publish

on:
  push:

jobs:
  publish:
    runs-on: macos-latest
    steps:
      - name: Checkout
        uses: actions/checkout@v3

      - name: Setup PHP
        uses: shivammathur/setup-php@v2
        with:
          php-version: 8.1
          extensions: dom, curl, libxml, mbstring, zip
          ini-values: error_reporting=E_ALL
          tools: composer:v2
          coverage: none

      - name: Setup Node
        uses: actions/setup-node@v2
        with:
          node-version: 18.16

      - name: Install Composer dependencies
        run: composer install --no-progress --no-suggest --prefer-dist --optimize-autoloader

      - name: Install Node dependencies
        run: npm install

      - name: Run install
        run: php artisan native:install --force --ci

      - name: Run build
        run: php artisan native:publish --ci
        env:
          CSC_KEY_PASSWORD: ${{ secrets.CSC_KEY_PASSWORD }}
          CSC_LINK: ${{ secrets.CSC_LINK }}
          NATIVEPHP_APPLE_ID: ${{ secrets.NATIVEPHP_APPLE_ID }}
          NATIVEPHP_APPLE_ID_PASS: ${{ secrets.NATIVEPHP_APPLE_ID_PASS }}
          NATIVEPHP_APPLE_TEAM_ID: ${{ secrets.NATIVEPHP_APPLE_TEAM_ID }}

      - uses: actions/upload-artifact@v3
        with:
          name: dist
          path: |
            dist/*.dmg
            dist/*.zip
            dist/*.yml